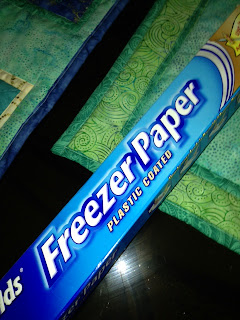
The first thing I did was research some images on Google of Mermaids. All I did was put the word mermaids in the Google search engine and then click the "images" button. A bunch of images will come up and you can scroll through and see which ones you like. I did a series of line drawings in my sketch book. Very simple, very quick. Then draw the image on Freezer paper. Cut out the image you drew on the Freezer Paper. Then press shiny side down onto fabric choices.
Cut out fabric and then adhere each image to Steam a Seam. The Steam A Seam is a two step process where you firstly adhere it to the cloth and cut out the shape and then iron down the shape on to a permanent backing with a hot iron. Basically you are taking a simple line drawing and breaking down the shapes in it into various pieces of cloth and then reassembling back into a "puzzle" to create the shapes in the quilt.
Take each piece of the Puzzle and put them together on a single piece of cloth, then Iron down so it permanently is adhered to the backing cloth. Some people use a stabilizer but I just used some white cotton backing cloth that was fairly stiff.
After I ironed on all my "Puzzle Pieces" to the backing cloth, the Mermaid looked like this. I added some circle motif at strategic design locations for added interest.
This is before I zigzagged around the
edges of the Puzzle Pieces
I added a backing and quilting layer sandwich before I Zig Zagged around the edges of all my Puzzle Pieces and then added some border too!!
 |
| Zig Zagging AWAY!! |
This is the quilt finished with completed borders.
I then added some sparkle jewels with some E-6000 glue and a toothpick
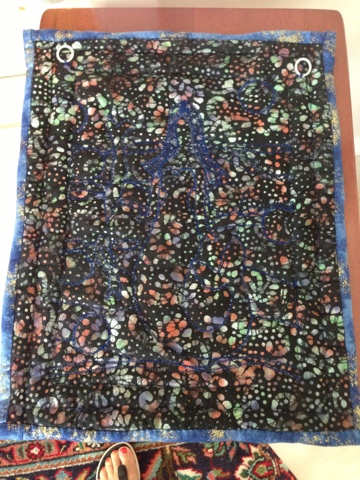
I sewed on a couple of plastic rings on the backing of the quilt, to hang it on the wall. I know you can sew in a sleeve too.
Backing of quilt
 |
| Finished Quilt with Jewels
I hope you enjoyed my overview of making a Puzzle Quilt!!
Happy Quilting,
Melissa Abbott
|


No comments:
Post a Comment